Now, it’s time for your child to become the cool kid on the block and video-produce their own content. We’ll be providing several tips on how to get them to make the most of their movie-making. Presuming they have all the equipment we mentioned in part 1. And have the blueprints for production in the form of scripts and storyboards from part 2! If so, let the camera roll!
There are some key points to doing a shoot. It’s pretty simple. Shoot and re-shoot a scene until it feels like it’s right. Next, you’ll want to ensure there’s enough lighting. The third step is where the action happens! Hand over your phone to your young auteur, and let them begin experimenting with making movie magic!
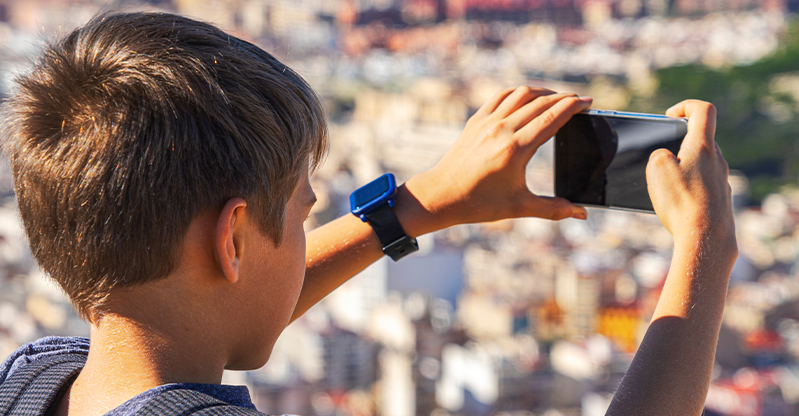
For complete newbies who aren’t familiar with the camera function, simply search for “camera” in your phone’s find bar. Click on it, and your screen will turn into a viewfinder. So-called because it helps find a view for you to record the action. In other words, you utilize the viewfinder to take the shot you want. This process is known as composition, and it’s the very building block of shooting (and later crafting) video content.
Pressing that button turns the screen into a viewfinder. A viewfinder, in the context of cameras, is what’s used to compose a shot or record a scene.
Speaking of composition…
Composition
It is the most basic element of shooting with the video mode of a camera. Just like with photographs, your child frames the scene depicted in their storyboard for that shot (as discussed in part II).
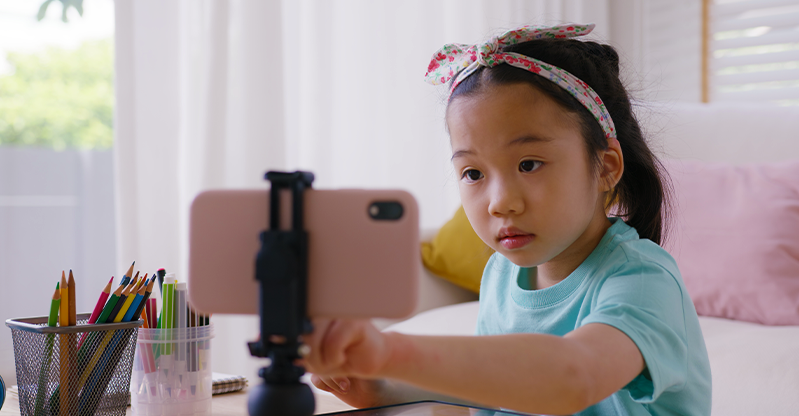
Composition is the key to telling a story as it sets the scene for the action or drama to take place. Your child does this with their tripod and smartphone, using the screen as a viewfinder. Once they are happy, the shot is framed.
Setting up the tripod and framing the shot
Remember how we mentioned a tripod that can go to about Tom Cruise’s height in part I? Well, your child needs to set it up, but adjust it to the height of the footage they want to take. Additionally, there are various types of shots that benefit video content. These would include usage of angles so, we’ll list them below:
Human subject focus — your child should adjust the tripod to the height of the subject’s head. If the subject is tall, your child should stand some distance away with the tripod and slightly level the camera up. They will then use the telephoto lens, provided your smartphone has one. If the subject is of reasonable height, your child can stand closer and use the normal camera setting, which is normally a wide-angle lens. In fact, close enough that the head and shoulders of the subject are clearly in the frame. You can always lend a hand during the shooting process and get the tripod to a height your child might not manage on their own. So now you’re acting… the part of a cameraman!
Animal subject focus — there are several ways of showing the animal subject, but ideally, you’d want a camera with a shallow depth of field. This means while the subject is in focus, the smartphone defocuses the background. But consider which animals you want to use in a sequence. Some are better than others.
For instance, cats are notoriously difficult to get to do what you want. However, with a little forethought, you can get certain performances out of our feline friends. Like, if you want to record a cat running at high speed across the scene, your child can set up the shot where the cat is resting on the couch (as cats tend to do… being cats), start recording, then move to the other side of the frame (out of visibility of the camera of course) and use a red laser pointer in a certain direction. Cats go nuts for those beams of light! Now, you have video footage of the cat, apparently rapidly intrigued by something out of frame, going full pedal to the metal and racing like a sports car across the shot. It’ll look awesome!
Or, if you’re doing an action sequence with a dog that involves throwing a stick, you can reasonably predict how the dog will behave. Your child can then set up a wide shot some distance away with the tripod or even an ultra-wide shot, if the camera has an ultra-wide lens. Simply start filming at the angle envisioned in the storyboard, “Boy throws stick out of view of the camera, Rover goes running after it barking, and then returns with it a few minutes later. Boy takes the stick, and praises dog.”
Establishing shot — used for when you have changed scenes or are beginning a new one. Normally the focus would be on key identifiers. For example if it’s a park your child is filming at, they could use a wide-angle shot with a swing in part of the composition, perhaps left or right of center, with the rest of the park angled behind it. If you change scenes to the interior of a home, your child would compose a shot showing the kitchen, the living room, their bedroom, or the hallway.
Which room the scene focuses on would most likely be where the next bit of action takes place. You’d generally use a wide-angle lens for these sorts of shots. If we were to establish that our content takes place in New York, we might use stock footage of the Statue of Liberty, the Empire State Building, or other well-known landmarks. Establishing shots use familiar imagery to people so they can orientate themselves as the audience. Like if you saw the opening shot featuring the most famous clock tower in the world, you’d automatically know you were in London.
Scene focus — for setting the scene. Your child should use a wide-angle here. This means all the elements, which include subjects (i.e., the actors, animals, or even objects), scene props (when objects are not used as the subject), and the background or backdrop. This last one includes a green screen if you’ve managed to organize one. Just a reminder, you can get decent green screens relatively inexpensively on Amazon.
Action sequence — if there’s an action scene happening – which could be anything from a kid riding a bicycle to two people engaged in simulated combat (more on that below) – the focus is on the subject(s) and what they’re doing. Sometimes action sequences are better when the camera is taken off the tripod and recorded by hand. The bicycle example could involve your child lying down on the ground, recording upwards at the kid on the bicycle as it comes racing by. This adds intensity to the scene.
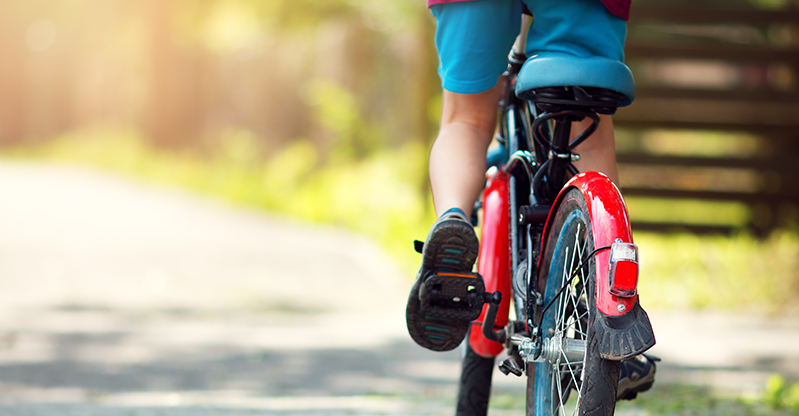
Alternatively, several shots could be used. For instance, one with the kid on the bicycle racing towards the camera. Then the recording would stop as would the kid. Then the shot would be composed from behind the cyclist, and your child could shout “action!”. The little cyclist would then immediately race off into the distance. In the editing process, these two shots would be combined, showing the bicycle riding to, then from the camera (and viewer). This is just one of many examples of how to show action on screen.
Others can involve other sports, like soccer. This would be shot at various angles. Let your child get creative. But one example is having the camera behind the goalie and having the actor with the best aim kicking the ball past the net.
Simulated combat action— kids will be kids so, we know there might be interest in creating an action movie-style content piece.
We strongly suggest some choreography here. In other words, not an improvised fight scene but one where both actors have practiced in slow motion how they will move. It’s also recommended not to try anything too fancy. Like flying kicks from the dining room table. Kids can let their imaginations run wild when the potential for making cinematic magic gets in their heads.
There are some marvelous tricks that involve nobody running the risk of getting hurt. Your child’s actors can “fight” slower than a real fight, while still delivering punches and kicks that don’t hurt anyone. They can actually fight as if they’re in slow motion, meaning there’s no impact to the blows, and allowing them to get into a “dance” with each other that’s exciting to watch. When they fight slowly, almost as if they were in water, they can softly connect fists and feet with each other gently, and the actor on the receiving end of the blow simply moves their head as if they were hit hard and then exaggerates the intensity of being hit.
Why will this look realistic, at least in a fun way for everybody to watch? Because during the editing process, the fight sequence will be ramped up. This means speeding up the action so it looks like they’re fighting at an intense speed. It takes a bit of practice, but they can do very cool fight scenes using this slow-during-shooting/fast-during-editing technique that doesn’t even have to involve complicated choreography. This is often how the professional movie-making world does it.
We also suggest for sequences involving weapons — only use kids’ toys. If they have cowboy guns or any other toy guns, they can have good, old-fashioned fun. During the editing process, they can add in sound effects, like bangs or even muzzle flashes.
Again, we’re not advocating violence, but your children aren’t exactly Jedi Knights, and I think most of us remember the fun of play fights when we were kids. Mirroring action heroes with a few neat tricks could be very enjoyable in the content-making process.
Aerial shot — Your child has two options. They can get a drone or use stock footage that they can add in during editing—see Part IV for more about editing, which will be our primary focus). Aerial shots are also great as establishing shots. They set the mood for where the content is set (e.g., the countryside, the urban areas, suburbs, etc.). Make sure to check your local laws regarding the flying of drones. Normally, there are certain areas that are off-limits as fly zones.
Sometimes stock footage is just the easier option. Be sure to create an account here if you decide to go this route. There’s plenty of free drone-captured aerial footage available. There are other sites as well like Pixabay. They simply involve signing up with your email address, no bank details are required, and you’ll have access to their content for your child to use. Some of this content DOES require acknowledgment of the source of the footage. This can be done when a video is uploaded to social media (even if it’s on a private channel) in the description section. However, some content merely asks you to but doesn’t require it. Help your child figure out what content needs what crediting. Most of it, though, is free to use without adding attribution. Especially if you’re not using the footage for commercial purposes, which your child, in all likelihood, is not. The specific footage download page will inform you of common usage rights.

Green screens and how to use them
Green screens can either be purchased with poles to stand them on or as simple fabrics. If you choose the simple fabric route, you’d have to find a space in your house where you could attach them to the top and let them — like scurvy captured pirates (a content idea!) — hang. So, the first option is probably better because you could set it up anywhere and take it down once finished. It also allows your child to shoot at the right time of day, with no shadows, outdoors. A key tip: photographers like grey, overcast days for photography to avoid harsh light and the same applies to videography. There’s normally more than enough natural light to capture the chroma key of the portable green screen and contrast it with the subject you’re shooting it against — without shadows.
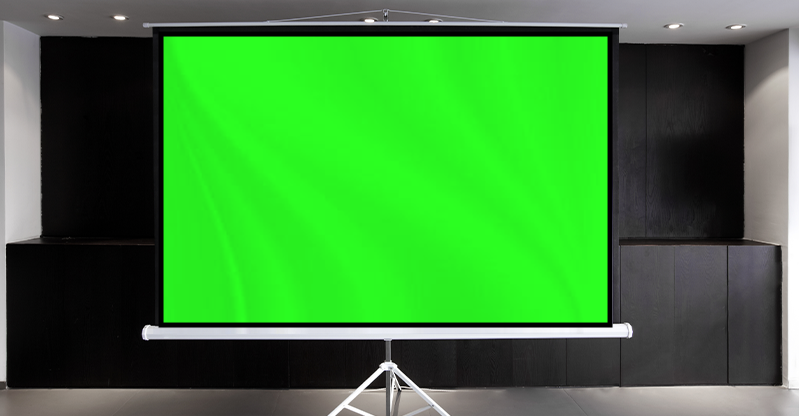
This contrast is important because it makes the editing process easier. The editing function that removes the green screen chroma key-captured footage finds it easier to do. This allows for the footage “behind it” to appear… along with the subject (actor) on this footage, as if they were there.
The key to good green screen recordings is ensuring you have enough light to prevent shadows from forming. Shadows affect the efficiency of chroma keying later on in editing.
If done indoors, the ideal setup would be two or four studio lights that are placed diagonally on opposite ends of the green screen. This would cancel out any shadows.
Depending on the type of content your child wants to create will depend on how he uses the green screen.
The green screen is useful for:
- Duplicating an actor, so they appear on screen two or three or more times simultaneously. This is a neat trick and just requires the actor to be positioned in the correct spot for each shot of a new version of themselves. With some practice and good script-reading memory, your child could shoot a scene where the actor has a conversation with himself.
- Showing the actor in a location (such as by getting stock footage and editing it into the background later) they otherwise wouldn’t be able to be in. For instance, you live in South America, but the script calls for a sandy desert. Well, now the actor is there. Hopefully wearing the appropriate clothes, because it sure is hot out there.
- An actor hosting content concerning an event, such as gaming, a hobby, cooking, and more. They would then appear like a newsroom anchor and the footage of the event is edited in later, making it look like the kid is appearing in front of the footage, where they can commentate on it. This is used in the real-world most often by forecasters on news channels. How they’re able to know which spots to circle and which way to wave their hands in a general direction seems a bit like a mystery. But it really comes down to knowing where the various elements of the included footage will be. But the easiest way to commentate is simply standing up and looking at the camera. No need to get complicated.
- Special effects, like having the actor imbued with lightning. And for the lightning example, well there is free stock footage for that. (Alternatively, look into AR apps, though they come with hefty subscriptions.)
And that’s how to do some basic shooting!
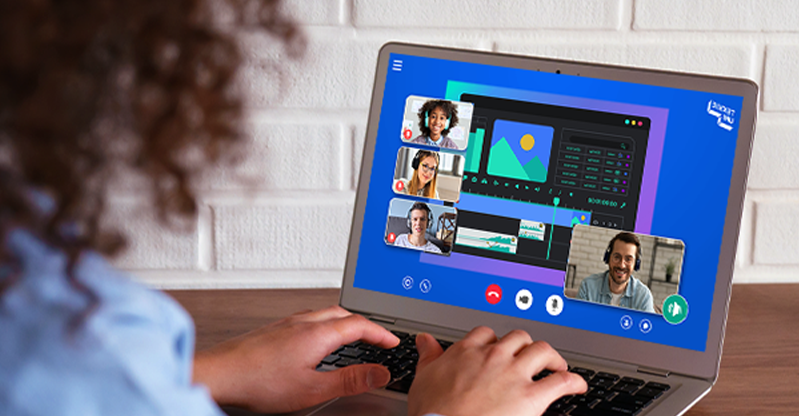
If you’d like your kid to learn more about the intricacies of video content creation, especially editing, then why not have them enroll in a Tekkie Uni class on the subject? They’ll learn how to make the most of their talents!
Catch up with us in Part 4, where we look at post-production. In other words, editing – the final stage of the video content process!